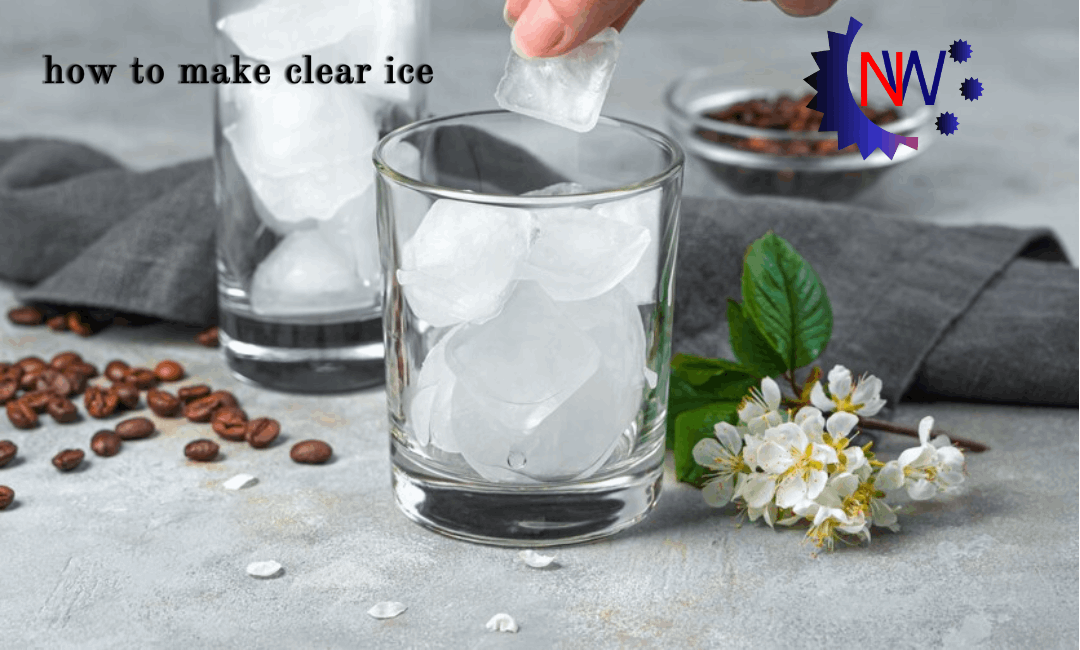
There’s a moment in every home bartender’s journey when they pause, stare at their drink, and think: Why is my ice so cloudy? You’ve seen it in restaurants—glistening, transparent ice cubes that melt slowly, preserving the flavor of a cocktail, or a single large clear ice sphere in a glass of whiskey, looking like a frozen diamond. Cloudy ice, by contrast, melts fast, dilutes drinks, and feels… unrefined.
The good news? Clear ice isn’t magic. It’s science. And you don’t need a $500 ice maker to make it. In this guide, we’ll break down the exact methods, tools, and troubleshooting tips to make restaurant-worthy clear ice at home. By the end, you’ll be pouring drinks with ice so clear, your guests will think you hired a pro.
Why Is Ice Cloudy? The Science Behind the Haze
Before we dive into making clear ice, let’s understand why most ice is cloudy. It all comes down to two things: air bubbles and minerals.
Water (even tap water) contains dissolved air. When you freeze water quickly, the air doesn’t have time to escape. Instead, it gets trapped as tiny bubbles, creating that milky, cloudy appearance. Additionally, tap water has minerals like calcium and magnesium. As water freezes from the outside in (the way most home freezers work), these minerals and air bubbles get pushed toward the center, forming a dense, cloudy core.
Here’s the key: clear ice forms when water freezes slowly and directionally. Slow freezing gives air and minerals time to escape, and directional freezing (freezing from one side to the other) pushes impurities to one end, leaving the rest of the ice crystal-clear.
Myth buster: You’ve probably heard that boiling water makes clear ice. It helps—boiling removes some dissolved air—but it’s not enough on its own. Without slow, directional freezing, even boiled water will still trap bubbles. We’ll show you how to combine both for perfect results.
4 Proven Methods to Make Clear Ice at Home
You don’t need special gear to make clear ice. We’ve tested four methods, from “no tools required” to “pro level,” so you can pick what works for you.
Method 1: The Cooler Method (Easiest, No Special Tools)
This is our go-to method. It uses a simple cooler to insulate water, slowing freezing and forcing air bubbles upward.
What you need:
- A small, hard-sided cooler (6–12 quarts works best; avoid soft coolers).
- Water (distilled or filtered; tap water works, but distilled is clearer).
- A freezer (set to its coldest setting).
- A knife or ice pick (for shaping).
Steps:
- Prep the cooler: Remove the lid and line the cooler with a clean towel (optional, but it helps insulate).
- Fill with water: Pour water into the cooler, leaving 1–2 inches of space at the top (water expands when frozen).
- Freeze: Place the cooler without the lid in the freezer. Let it freeze for 18–24 hours.
- Remove the ice: Take the cooler out and run warm water over the bottom for 10–20 seconds to loosen the ice block.
- Trim the cloudiness: The ice will have a clear top layer and a cloudy bottom layer (where impurities collected). Use a knife to cut off the cloudy part—you’ll be left with a crystal-clear block.
Why it works: The cooler’s insulation slows freezing, so ice forms from the top down. Air and minerals get pushed to the bottom, leaving the top 2–3 inches clear.
Pro tip: For even clearer ice, use distilled water. It has fewer minerals, so the cloudy layer is thinner.
Method 2: Directional Freezing (Science-Backed)
If you don’t have a cooler, directional freezing uses a tall, narrow container to control the freezing direction.
What you need:
- A tall, narrow container (a 2-liter soda bottle cut in half, a loaf pan, or a specialized directional freezing mold).
- Water (distilled or filtered).
- Freezer.
Steps:
- Prep the container: Fill the container with water, leaving 1 inch of space at the top.
- Freeze vertically: Place the container upright in the freezer. Ice will form from the top down.
- Wait 24–36 hours: The top 70% of the ice will be clear; the bottom 30% will be cloudy.
- Remove and trim: Run warm water over the container to release the ice, then cut off the cloudy bottom.
Why it works: Tall, narrow containers limit how much ice forms at once, forcing slow, directional freezing. This method is great for making long, clear ice sticks (perfect for tall drinks).
Method 3: Boiling Water + Slow Freezing (Budget-Friendly)
Boiling water removes dissolved air, and slow freezing prevents new bubbles from forming. It’s not as reliable as the cooler method, but it works for small batches.
What you need:
- A pot (for boiling water).
- A sealed container (glass or BPA-free plastic).
- Water (tap or filtered).
Steps:
- Boil the water: Bring water to a rolling boil for 5 minutes. Let it cool to room temperature.
- Boil again: Boil the water a second time (this removes even more air). Let it cool.
- Freeze slowly: Pour the water into a sealed container and place it in the freezer. Don’t open the freezer for 24 hours (opening disrupts the freezing process).
- Trim if needed: The ice may still have a small cloudy core—cut it off with a knife.
Why it works: Boiling removes air, and slow freezing gives remaining bubbles time to escape. It’s best for small ice cubes or spheres.
Method 4: Sous Vide or Clear Ice Makers (Pro Level)
If you’re serious about clear ice (or host often), invest in a sous vide machine or a dedicated clear ice maker.
- Sous vide: Set the machine to 32°F (0°C) and submerge a container of water. The precise temperature control ensures slow, even freezing, resulting in large, clear blocks.
- Clear ice makers: Machines like the “Clear Ice Cube Maker” or “Hoshizaki” use directional freezing to produce restaurant-quality ice. They’re expensive ($200–$500) but worth it for frequent use.
Essential Tools (and What You Can Skip)
You don’t need a kitchen full of gadgets, but a few tools will make the process easier.
Must-Have Tools:
- Small cooler: The workhorse of the cooler method. A 6-quart model fits perfectly in most freezers.
- Distilled water: Fewer minerals mean less cloudiness. It’s cheap and worth the investment.
- Sharp knife or ice pick: For trimming the cloudy bottom layer. A serrated knife works best for cutting ice.
Nice-to-Have Tools:
- Clear ice molds: Silicone molds (like “Tovolo Sphere Ice Molds”) create perfectly round clear ice for cocktails.
- Sous vide machine: Ideal for large blocks or consistent results.
- Insulated gloves: To handle frozen ice blocks safely.
Tools to Skip:
- Plastic containers with BPA: They can leach chemicals into the ice, affecting flavor.
- Shallow trays: They freeze too fast, trapping bubbles. Stick to tall, narrow containers.
Troubleshooting: Why Your Clear Ice Isn’t Clear (and How to Fix It)
Even with the right method, you might run into issues. Here’s how to solve them:
- Problem: Ice is still cloudy.
Fix: Freeze longer (24–36 hours), use distilled water, or try the cooler method (insulation slows freezing). - Problem: Ice cracks when freezing.
Fix: Let water cool to room temperature before freezing. Rapid temperature changes (e.g., hot water in a cold freezer) cause cracks. - Problem: Ice takes too long to freeze.
Fix: Set your freezer to its coldest setting. Avoid opening the freezer during freezing—warm air disrupts the process. - Problem: The cloudy layer is too thick.
Fix: Use less water (a shallower layer freezes more evenly) or insulate the container better (add a towel around it).
Advanced Tips: Elevate Your Clear Ice Game
Once you master the basics, try these pro hacks to take your ice to the next level.
- Make large blocks: Use a 5-gallon bucket lined with insulation. Freeze for 48 hours, then cut the block into cubes with a bandsaw or ice pick. Large blocks melt even slower—perfect for whiskey.
- Layered ice: Add edible flowers, herbs, or fruit between layers of water. Freeze slowly, and the ice will trap the ingredients in a clear “window.”
- Shape ice like a pro: Use an ice pick or chisel to carve clear ice into spheres, diamonds, or cubes. Practice on the cloudy layer first—you’ll get the hang of it!
- Store ice properly: Keep clear ice in a sealed container in the freezer. Avoid storing it near strong-smelling foods (ice absorbs odors).
Why Clear Ice Isn’t Just for Looks
Clear ice isn’t just about aesthetics—it improves your drinks.
- Slower melting: Clear ice has fewer air bubbles, so it’s denser. Dense ice melts 2–3 times slower than cloudy ice, preserving the flavor of your cocktail or whiskey.
- No “off” flavors: Cloudy ice often has trapped minerals or chlorine from tap water, which can alter the taste of drinks. Clear ice is pure, so your drink tastes exactly as it should.
- Presentation: Let’s be honest—clear ice looks impressive. It elevates even a simple gin and tonic, making it feel like a restaurant-quality drink.
Final Thoughts: Start Making Clear Ice Today
Clear ice isn’t a luxury reserved for bartenders. With a cooler, some distilled water, and patience, you can make crystal-clear ice at home. Start with the cooler method—it’s easy, affordable, and works 9 times out of 10. Once you get the hang of it, experiment with shapes, layers, and large blocks.
Your drinks (and your guests) will thank you.
Ready to try? Grab a cooler, fill it with water, and let your freezer work its magic. Tag us in your clear ice creations—we’d love to see them!
FAQs
Q: Can I use tap water instead of distilled water?
A: Yes, but distilled water gives clearer results. If using tap water, boil it twice to remove minerals and air.
Q: How long does it take to make clear ice?
A: 18–24 hours for the cooler method; 24–36 hours for directional freezing.
Q: Is clear ice safer to eat than cloudy ice?
A: Both are safe, but clear ice is purer tasting (no trapped minerals or air).
Q: Does clear ice melt slower than regular ice?
A: Yes! Its density means it melts 2–3 times slower, preserving drink flavor. more blog